先查看是否已经安装了zsh:
cat /etc/shells安装zsh:
apt install zshyay -S zsh改变当前用户默认shell(修改/etc/passwd文件):
sudo vim /etc/passwd将自己对应的用户名后面改成“/bin/zsh”。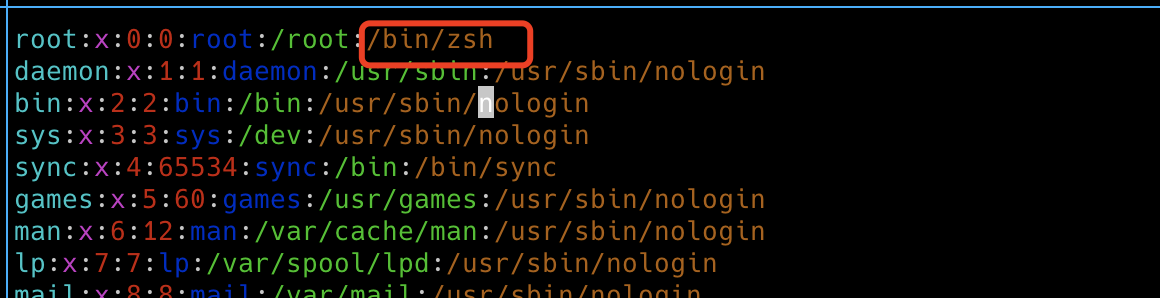
2、安装oh-my-zsh
sh -c "$(curl -fsSL https://raw.github.com/robbyrussell/oh-my-zsh/master/tools/install.sh)"由于墙的原因,基本安装不了。所以,可以换成下面的:
sh -c "$(curl -fsSL https://gitee.com/shmhlsy/oh-my-zsh-install.sh/raw/master/install.sh)"
3、添加oh-my-zsh的自动命令提示功能,被墙掉的话,也可以到gitee上去找
git clone https://gitee.com/wangl-cc/zsh-autosuggestions.git $ZSH_CUSTOM/plugins/zsh-autosuggestions# 修改字体可以调亮cd ~/.oh-my-zsh/custom/plugins/zsh-autosuggestionsvim zsh-autosuggestions.zsh修改 ZSH_AUTOSUGGEST_HIGHLIGHT_STYLE=‘fg=10’ (也可以把10改成自己需要的值)
用 vim 打开 .zshrc 文件,找到插件设置命令,默认是 plugins=(git) ,我们把它修改为
plugins=(zsh-autosuggestions git)4、添加语法高亮
brew install zsh-syntax-highlighting# macosapt install zsh-syntax-highlighting# ubuntuyum install zsh-syntax-highlighting # centosyay -S zsh-syntax-highlighting# manjaro修改.zshrc文件,在文件默尾加上:
source /usr/local/share/zsh-syntax-highlighting/zsh-syntax-highlighting.zsh# macossource /usr//share/zsh-syntax-highlighting/zsh-syntax-highlighting.zsh# linux重新加载配置文件:
source ~/.zshrc5、安装p10k:
cd ./.oh-my-zsh/themesgit clone https://gitee.com/romkatv/powerlevel10k.gitvi ~/.zshrc 设置如下内容 使用p10k主题 ZSH_THEME=“powerlevel10k/powerlevel10k”
根据向导模式进行p10k的主题定制
p10k configureiterm2 中使用Nerd Fonts字体
https://www.nerdfonts.com/font-downloads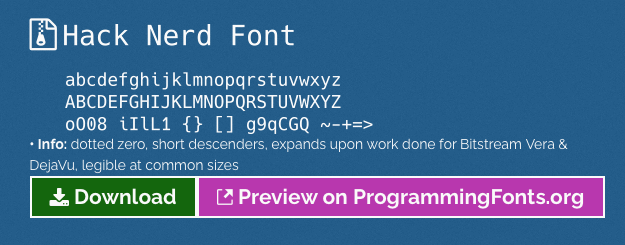
安装字体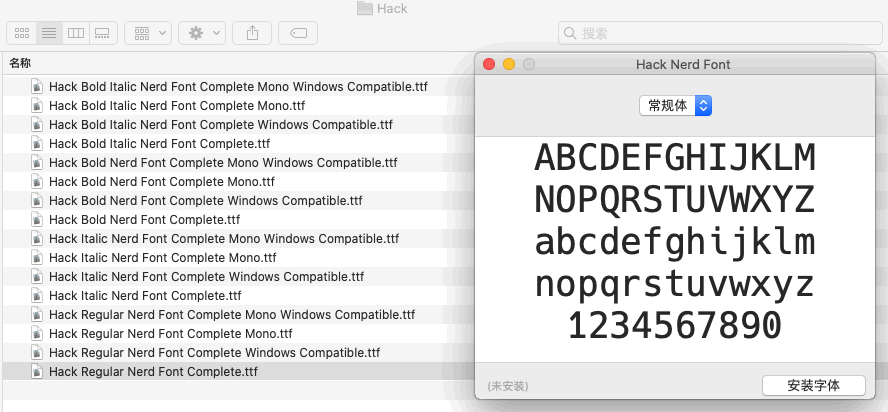
6、安装tmux:
brew install tmux# macosapt install tmux # ubuntuyum install tmux # centosyay -S tmux # manjaro7、美化tmux:
cdgit clone https://github.com/gpakosz/.tmux.gitln -s -f .tmux/.tmux.confcp .tmux/.tmux.conf.local .启用鼠标:
修改.tmux.conf.local,找到 “# set -g mouse on”,将“#”去掉即或
在~/.zshrc文件添加:
tmux_init(){ if [[ $1 == "" ]]; then echo "Need tmux name." else count=`tmux ls | grep -w "$1" | wc -l` if [[ $count -gt 0 ]] ; then tmux a -t $1 else tmux new-session -s "$1" -d tmux split-window -h tmux split-window -v #tmux select-pane -t 0 #tmux split-window -v #tmux select-pane -t 0 tmux -2 attach-session -d fi fi}之后就可以使用如下命令,快速进么tmux:
tmux_init zacyuan